DIY Wood Pellet Storage Solutions: Keep Your Fuel Dry and Accessible
If you’re using wood pellets to heat your home, you know how important it is to store them properly. Pellets are efficient, eco-friendly, and cost-effective, but they have one key weakness: moisture. When wood pellets get wet, they swell, crumble, and become unusable, turning what could be a powerful heat source into a pile of mush. That’s why it’s essential to keep them dry and easily accessible, especially during the winter months when demand is highest.
In this blog, we’ll explore several DIY wood pellet storage solutions that you can implement at home. Whether you’re tight on space or looking for a long-term storage option, we’ve got ideas that will help keep your fuel dry, organized, and ready to use.
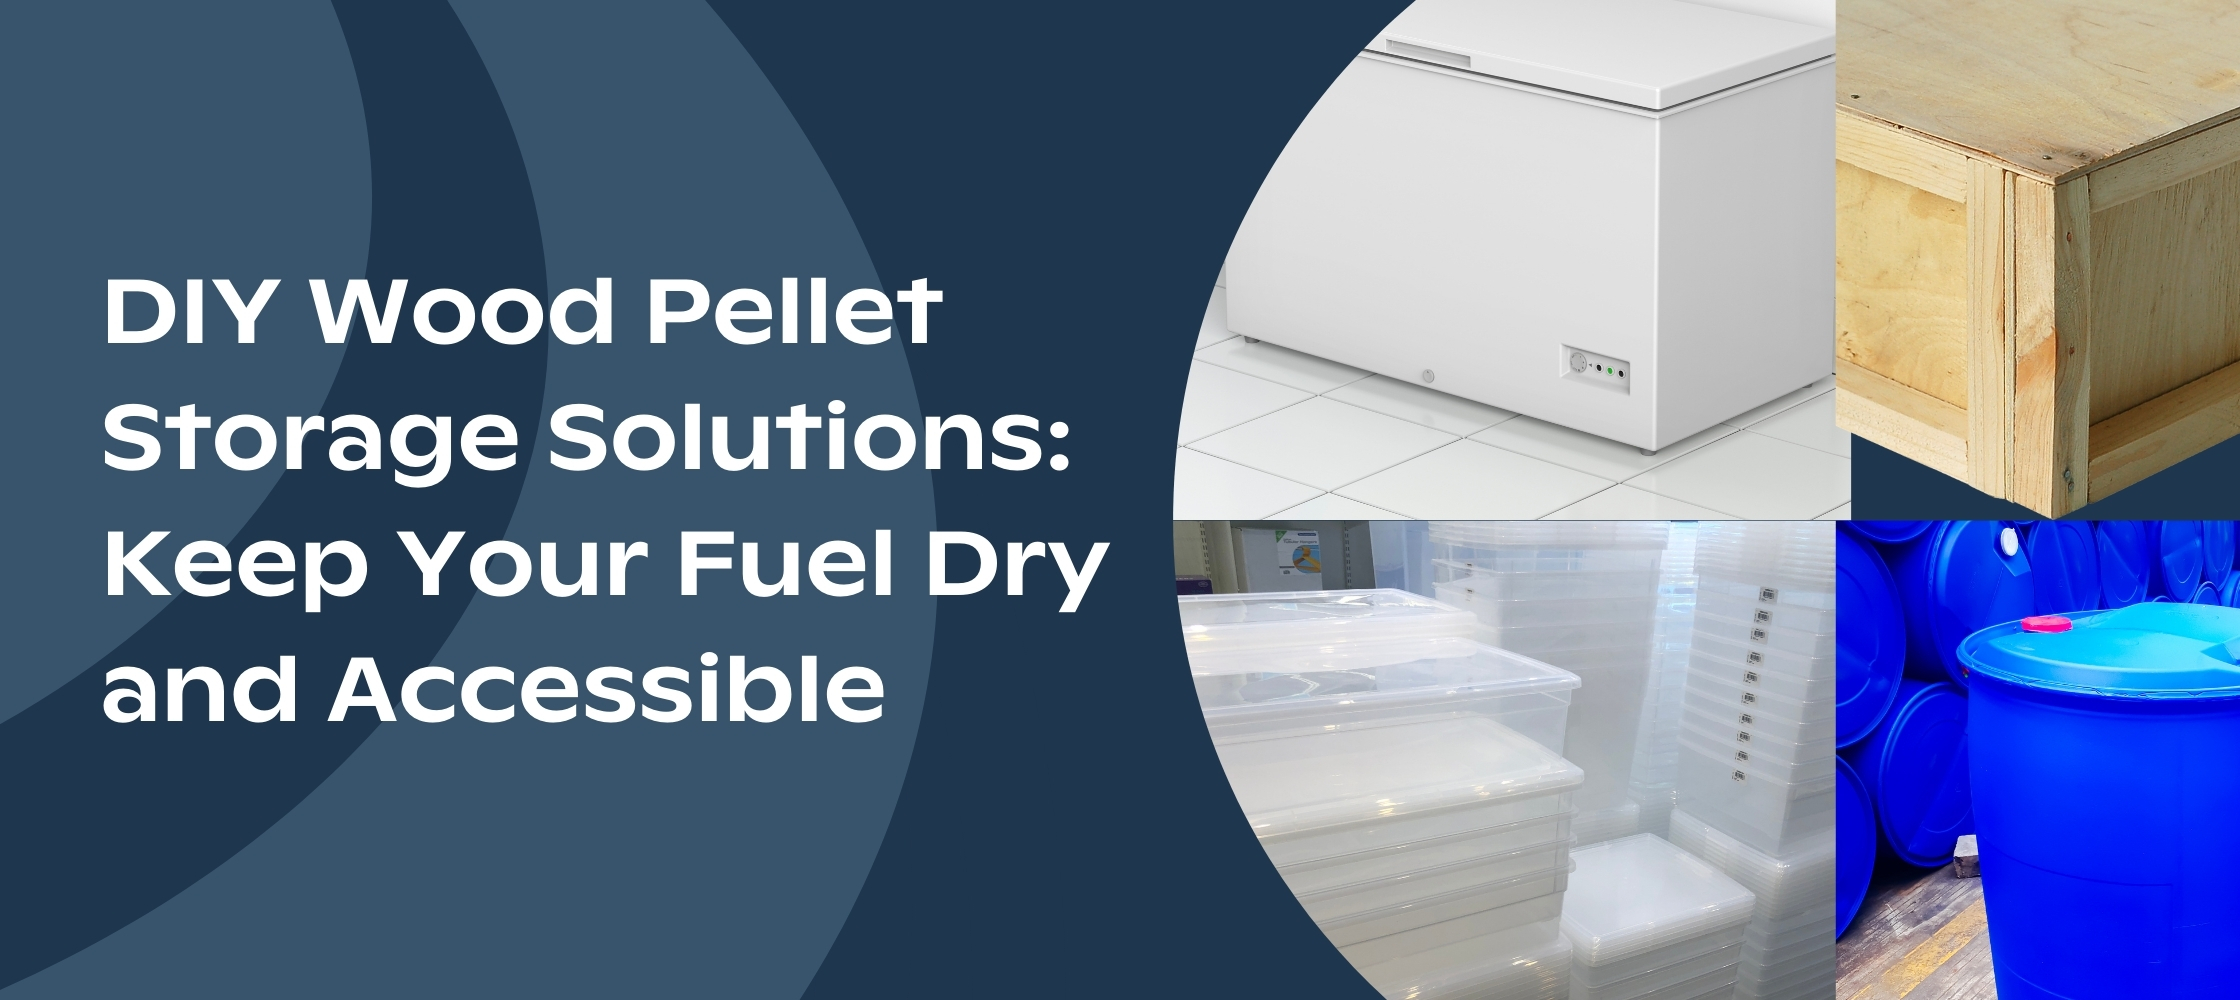
1. Plastic Storage Bins with Lids
One of the easiest ways to store wood pellets is by using heavy-duty plastic storage bins. These bins are waterproof, durable, and affordable. You can find them in various sizes at most home improvement stores, making it easy to fit them in your basement, garage, or shed.
- Tip: Choose bins with airtight lids to ensure moisture stays out. To make the pellets easy to access, consider using smaller bins that can hold one or two bags of pellets each. Stackable bins are also a great space-saving option.
- Pro Tip: Label each bin with the date you filled it to ensure you use the oldest pellets first.
2. Recycled 55-Gallon Drums
For a more rugged and sustainable option, consider using recycled 55-gallon drums. These containers are typically made from thick plastic or metal and can hold several bags of wood pellets at once.
- How to Use: Make sure the drum has a tight-fitting lid to keep moisture out. You can find these drums at industrial supply stores, or you may even score one for free from local businesses. Just be sure to clean them thoroughly before use if they’ve previously held other substances.
- Customization: Add a simple spigot or door to the bottom of the drum for easy dispensing, so you don’t have to dig to the bottom of the container.
3. Build a Wooden Pellet Storage Box
If you’re a DIY enthusiast, building a custom wooden storage box can be a practical and aesthetic solution. A wooden box not only keeps your pellets dry but can also be designed to match the style of your home.
- Materials Needed: You’ll need plywood, screws, weatherproof sealant, and a hinged lid. Be sure to treat the wood with a sealant or paint to prevent it from absorbing moisture.
- Design Tips: Build the box with a slanted lid to allow rain or snow to run off. You can also add casters to the bottom to make it mobile, which is especially helpful if you need to move it from storage to your pellet stove.
4. Repurpose an Old Chest Freezer
Have an old chest freezer that you’re not using anymore? It can make an excellent, airtight storage container for wood pellets. Chest freezers are naturally well-sealed, designed to keep out moisture and pests, and offer plenty of storage space.
- Instructions: Simply clean out the freezer, and it’s ready for pellet storage. To make access easier, you can remove the motor or cut out the wiring if it’s no longer functional. Add dividers inside to help organize your pellets.
- Bonus: Since freezers are insulated, they can also help regulate the temperature of your pellets, ensuring they remain in good condition, even in fluctuating weather.
5. Outdoor Sheds with Shelving
If you have the outdoor space, setting up a small dedicated shed for wood pellet storage is a great option. A shed provides ample space to store large amounts of pellets and protects them from the elements.
- Organize with Shelves: Inside the shed, add sturdy shelving units to keep your bags of pellets off the floor, reducing the risk of moisture seeping in. You can also store other winter-related tools and supplies here for easy access.
- Important Tip: Ensure your shed is weatherproof, especially the roof. Install a vapor barrier or use a rubber roofing material to prevent leaks. If you’re in a snowy area, make sure the shed is insulated enough to keep moisture from building up inside.
6. Pellet Hopper Storage Solutions
If you’re looking for a high-capacity solution, consider investing in a pellet hopper. These are specially designed for large quantities of pellets and can hold several weeks’ worth of fuel.
- DIY Hopper: If you’re handy, you can build your own pellet hopper using plywood or metal. Be sure to design it with a chute or door at the bottom for easy dispensing into buckets or directly into your pellet stove.
- Pro Tip: Elevate the hopper off the ground to prevent moisture from creeping in through the bottom.
General Tips for Wood Pellet Storage
- Keep Pellets Elevated: Always store pellets off the ground. Use pallets, shelving, or storage platforms to ensure no moisture seeps in from below.
- Store Indoors If Possible: Indoor storage in a dry space (like a garage or basement) is the best way to keep pellets safe from rain and humidity.
- Rotate Stock: Use older pellets first. Mark the date on your storage bins or bags to make sure you’re burning the oldest ones first to prevent any degradation.
Conclusion
Wood pellet storage doesn’t have to be complicated. By using the right materials and placing a focus on moisture protection, you can ensure your fuel remains dry and ready to burn all winter long. Whether you prefer plastic bins, custom-built wooden boxes, or even an old freezer, there’s a DIY solution that can fit your needs and space.
With just a little planning and effort, you can create a storage system that keeps your wood pellets easily accessible, dry, and organized for efficient home heating.
And once you have your wood pellet storage sorted, why not fill them with our Lasta wood pellets? Shop here.